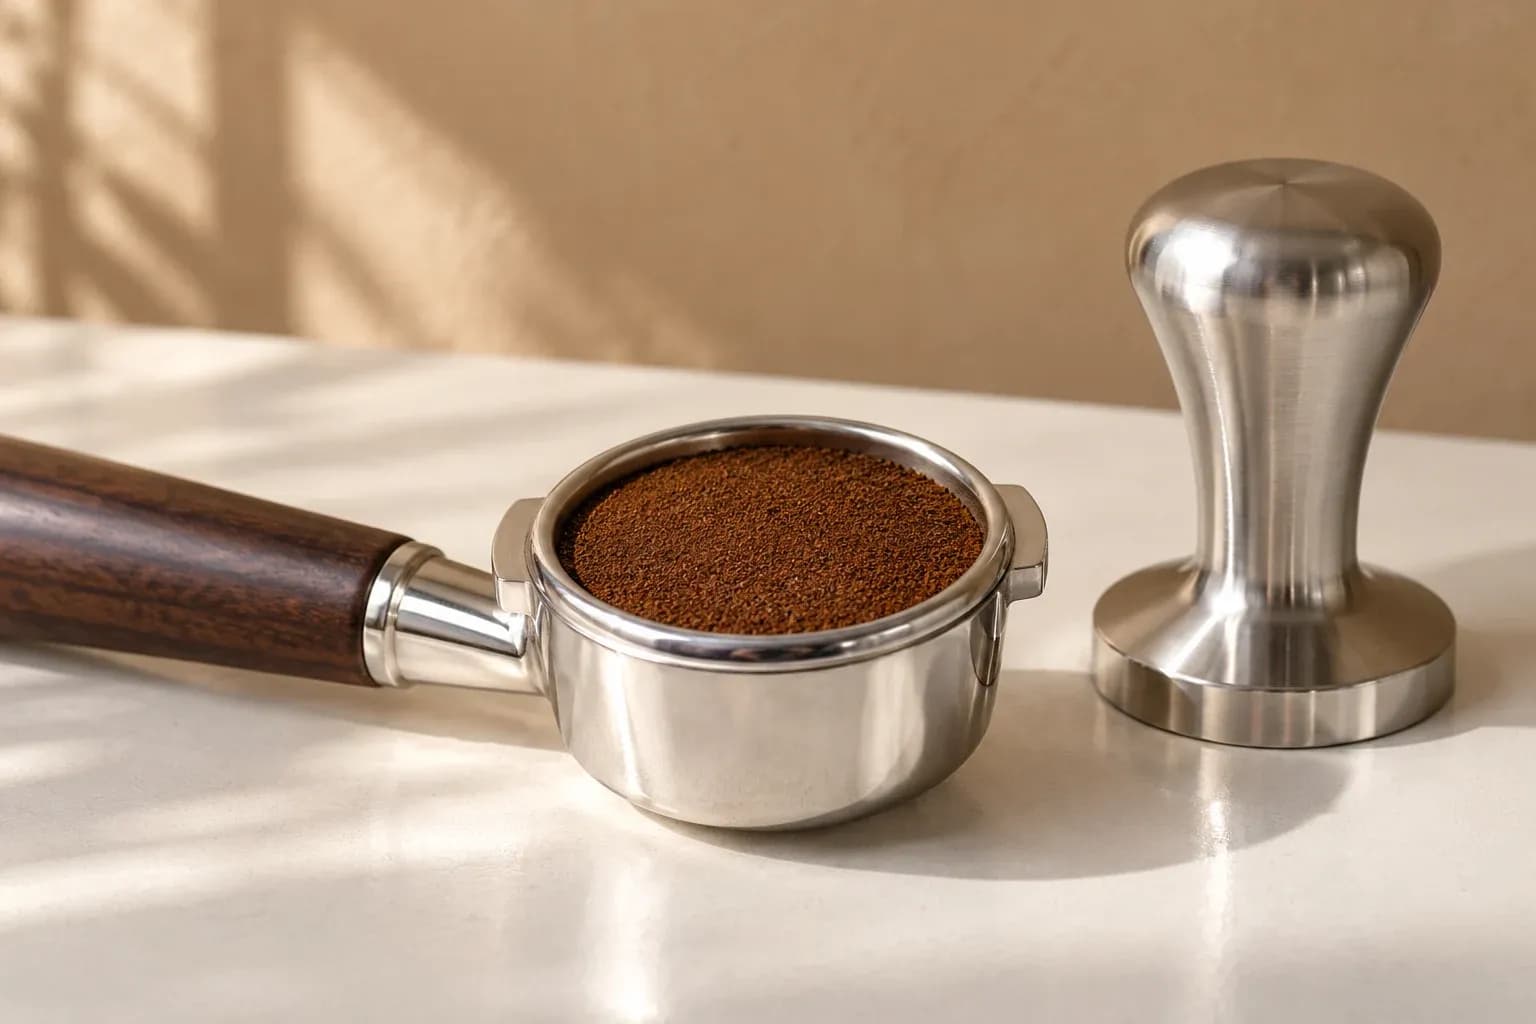
An espresso shot runs too quickly. You press harder on the next puck, then tilt and roll the tamper because the movement seems to pack the edges more tightly. The shot slows down. Has the technique improved extraction, or have you simply changed the bed in a way you cannot repeat?
A slower shot is an observation, not a verdict. To decide whether a preparation change helps, you need a consistent dose, a fixed beverage target and enough repetitions to separate the technique from ordinary variation.
Give water a more consistent starting bed
The coffee bed resists water flow. Its resistance depends on particle sizes, how those particles are arranged, the dose, the basket geometry and what happens when the puck wets. Tamping is one part of that system. It compresses the prepared grounds into a bed; it does not guarantee that the bed was evenly distributed beforehand.
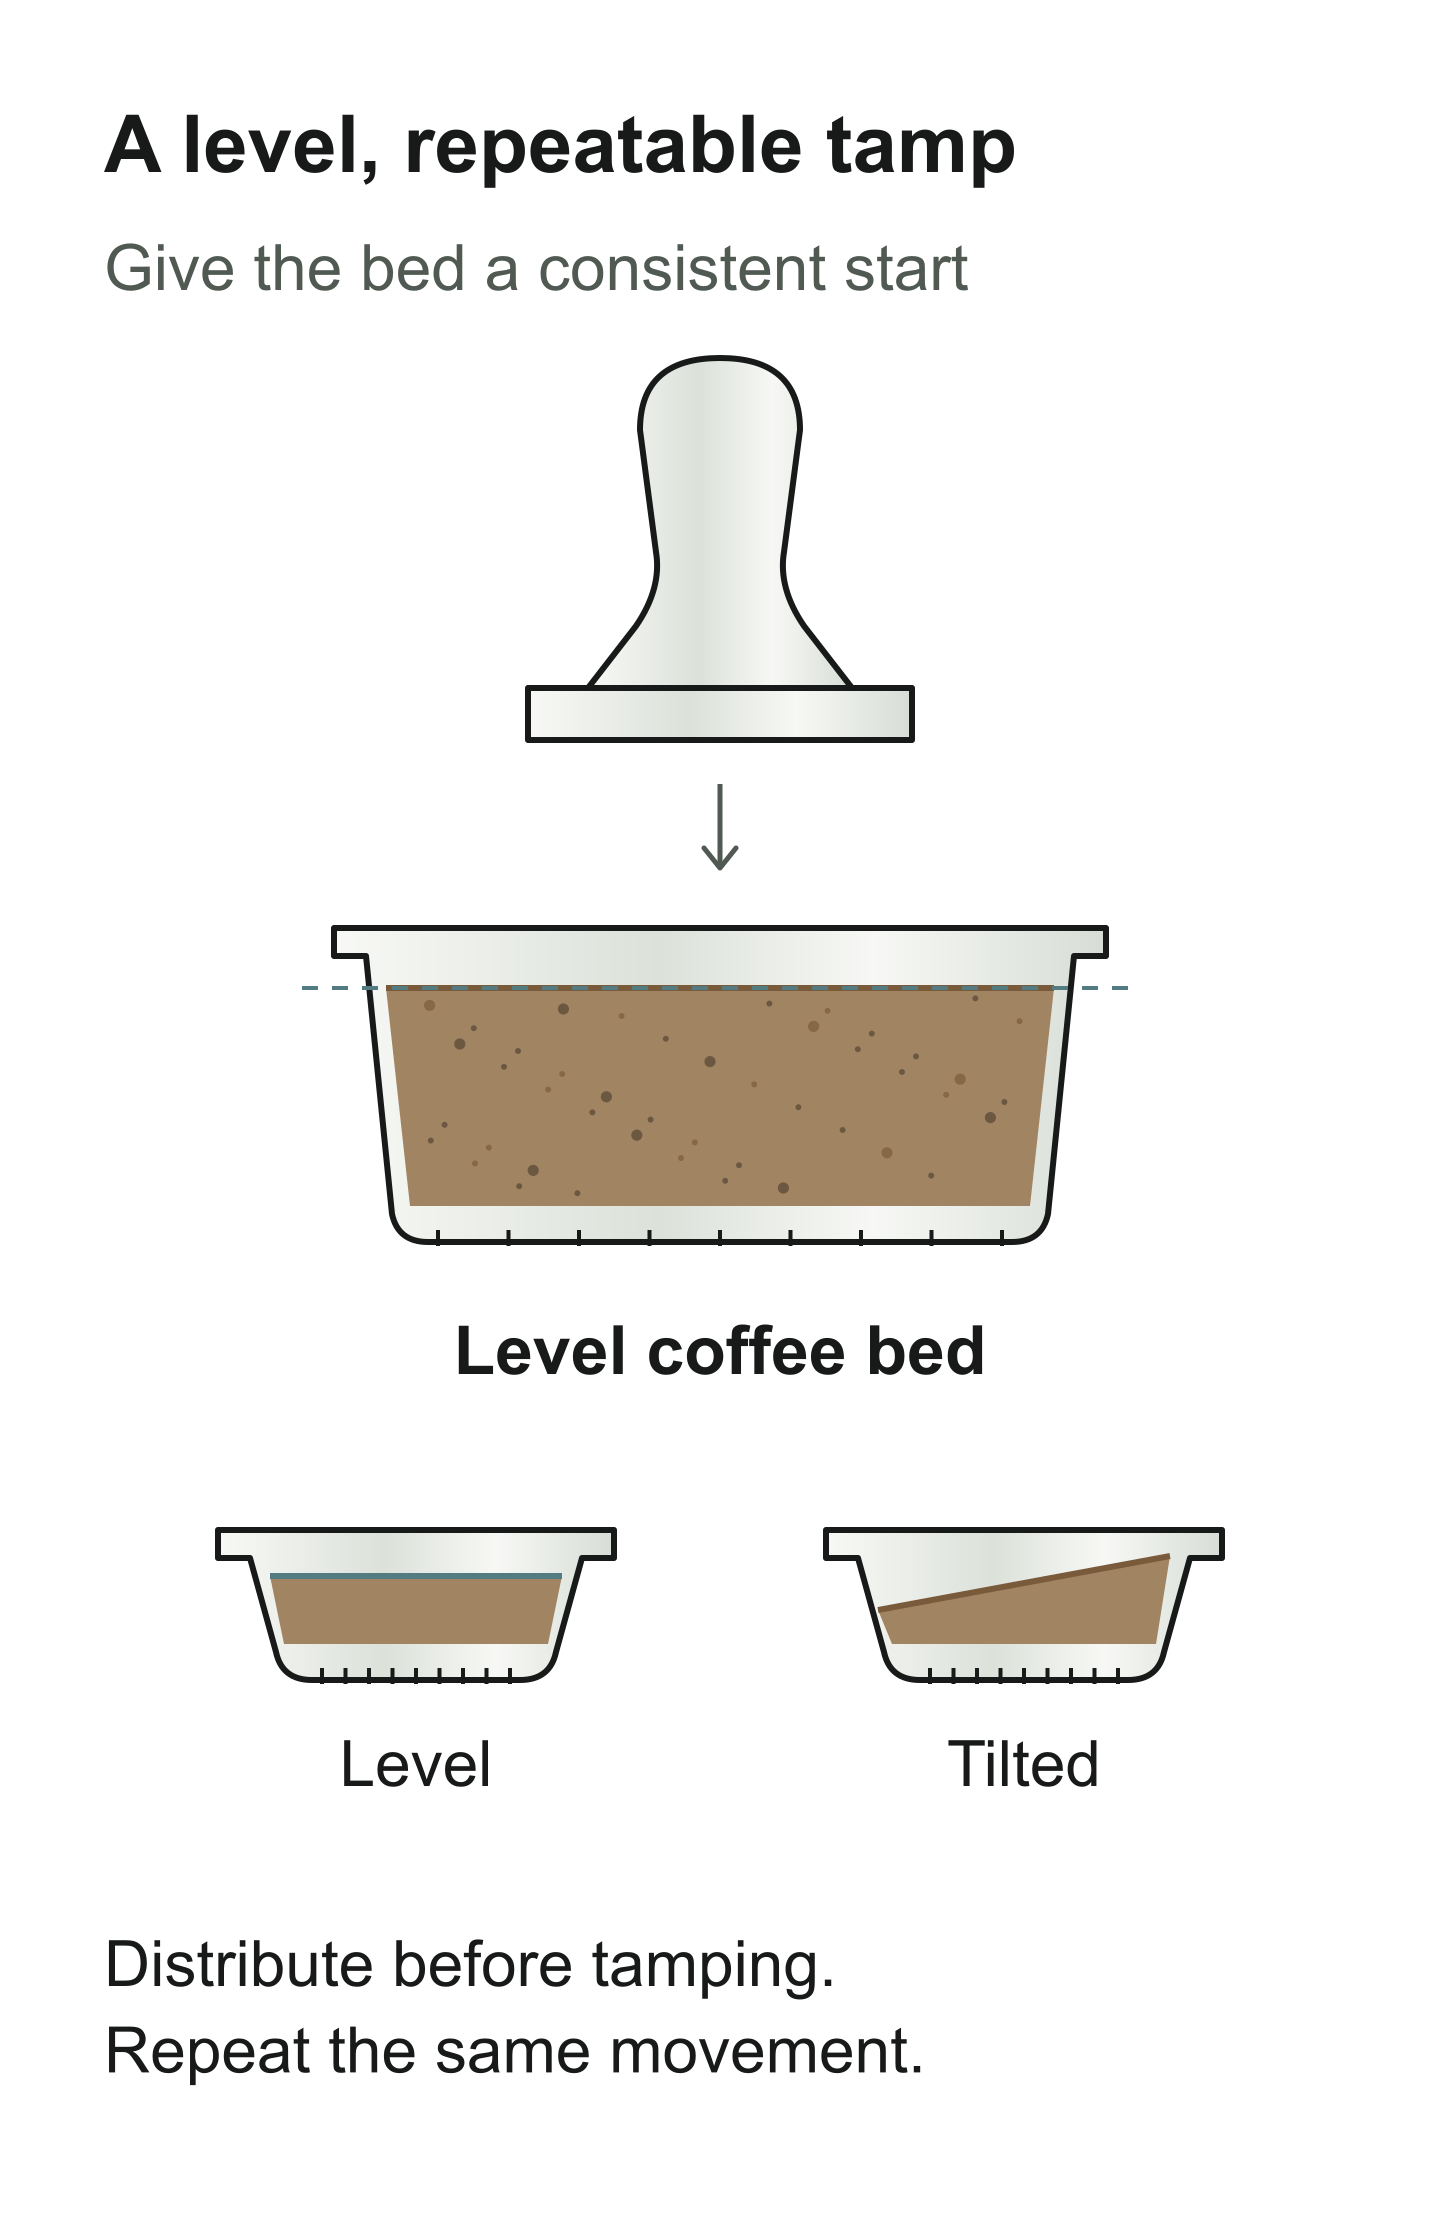
A flat top can conceal uneven distribution below it. If most of the grounds were piled on one side, pressing the surface level does not prove that equal areas of the basket contain equal amounts of coffee. Distribution and tamping therefore deserve separate attention.
For a routine you can diagnose, distribute first, settle the bed with the same motion, then tamp level. You are trying to remove unnecessary variation before using grind to control the recipe.
What changes when you rock the tamper
Nutation means tilting or rolling the tamper as it presses the puck. The exact movement varies from person to person. It changes where the tool applies pressure, how the grounds move and the shape of the surface left behind.
It is tempting to describe this as creating a useful seal around the basket. That explanation is not something you can establish from a longer shot time alone. A different surface, local packing or a disturbed edge could all change the way a particular puck wets and flows. Without measuring the bed, be cautious about claiming one mechanism.
There is also a practical cost. An extra hand movement creates another variable to reproduce. If you change the angle, depth or number of rotations from shot to shot, grind adjustments become harder to interpret. A level tamp is valuable because the action is easier to describe and check.
Set up the tools before adjusting your technique
Start with a clean, dry basket and a tamper that fits the basket's specified working diameter. A tool that binds against the wall can feel firm without applying pressure as intended. A tool that is too small leaves more grounds beyond its edge. Nominal basket diameter alone does not establish the right fit; check the manufacturer's dimensions.
Choose a dose within the basket's intended range and allow the clearance required by your machine. Do not solve a visibly overfilled basket by pressing harder. Dose, grind and puck preparation should work within the equipment's operating space.
Support the portafilter securely on a suitable surface. Keep the tamper aligned with the basket rim, press steadily and release without dragging the tool sideways. A stable wrist and supported portafilter make this easier to repeat than an unsupported push at an awkward angle.
Use a short routine you can repeat
Weigh the dose, distribute the grounds through the bed, and use the same settling motion each time. Place the tamper level before applying pressure. Tamp once with a consistent, comfortable action, lift vertically, then clear loose grounds from the rim before locking in the portafilter.
Avoid knocking the basket after tamping to tidy the edge. It adds a disturbance whose size is difficult to control. If loose grounds recur, address the dosing and distribution step instead. Nor is there a universal tamping-force number that can make up for the wrong dose, a tilted tool or inconsistent distribution.
If you use a calibrated tamper, follow its instructions and keep the rest of the routine stable. Its useful contribution is repeatability; the mechanism does not make every other preparation variable disappear.
Test a preparation change without rewarding shot time alone
Here is an illustrative comparison, not a recommended recipe for every basket. Use an 18 g dose and stop each shot at 36 g of beverage, provided that dose suits your equipment. Keep the coffee, grind, temperature setting and distribution method fixed. Compare your level tamp with one clearly defined alternative in an alternating order, then repeat the pair.
Record dose, beverage mass, shot time and a short taste note. Compare cups at a similar drinking temperature. If the alternative is slower but tastes less balanced, the extra time is not an improvement. If the results vary more, the method may be too difficult to reproduce even if one cup is excellent.
A test of each method at the same grind asks what the preparation change does on its own. Dialling in each method separately asks a different question about their best achievable recipes. Both can be useful, but mixing them halfway through leaves you without a clear comparison.
Read symptoms before choosing the next adjustment
A tilted surface is a reason to correct tool alignment. Repeated spraying from a bottomless portafilter is a reason to inspect the whole preparation routine; it does not identify tamp pressure as the sole cause. A wet puck after brewing is also not a stand-alone measure of extraction quality, because headspace and machine drainage affect what remains.
Once preparation is consistent, a shot that repeatedly misses your intended flow is a clearer reason to adjust grind. Keep dose and beverage target fixed while doing so, then taste again. If the basket itself is the next variable you want to change, the guide to comparing espresso baskets explains how to avoid confusing a new basket with a new recipe.