You brew 15 g of coffee with 240 g of water. The result smells inviting but feels heavier than you want. Should you grind coarser, pour more water or use less coffee? Each choice changes something different. Knowing which problem you are solving saves you from chasing three variables at once.
A brew ratio is a useful starting point because it is easy to measure and repeat. It becomes more useful when you connect it to concentration, extraction and the amount of coffee you actually want to drink.
Know what the two numbers describe
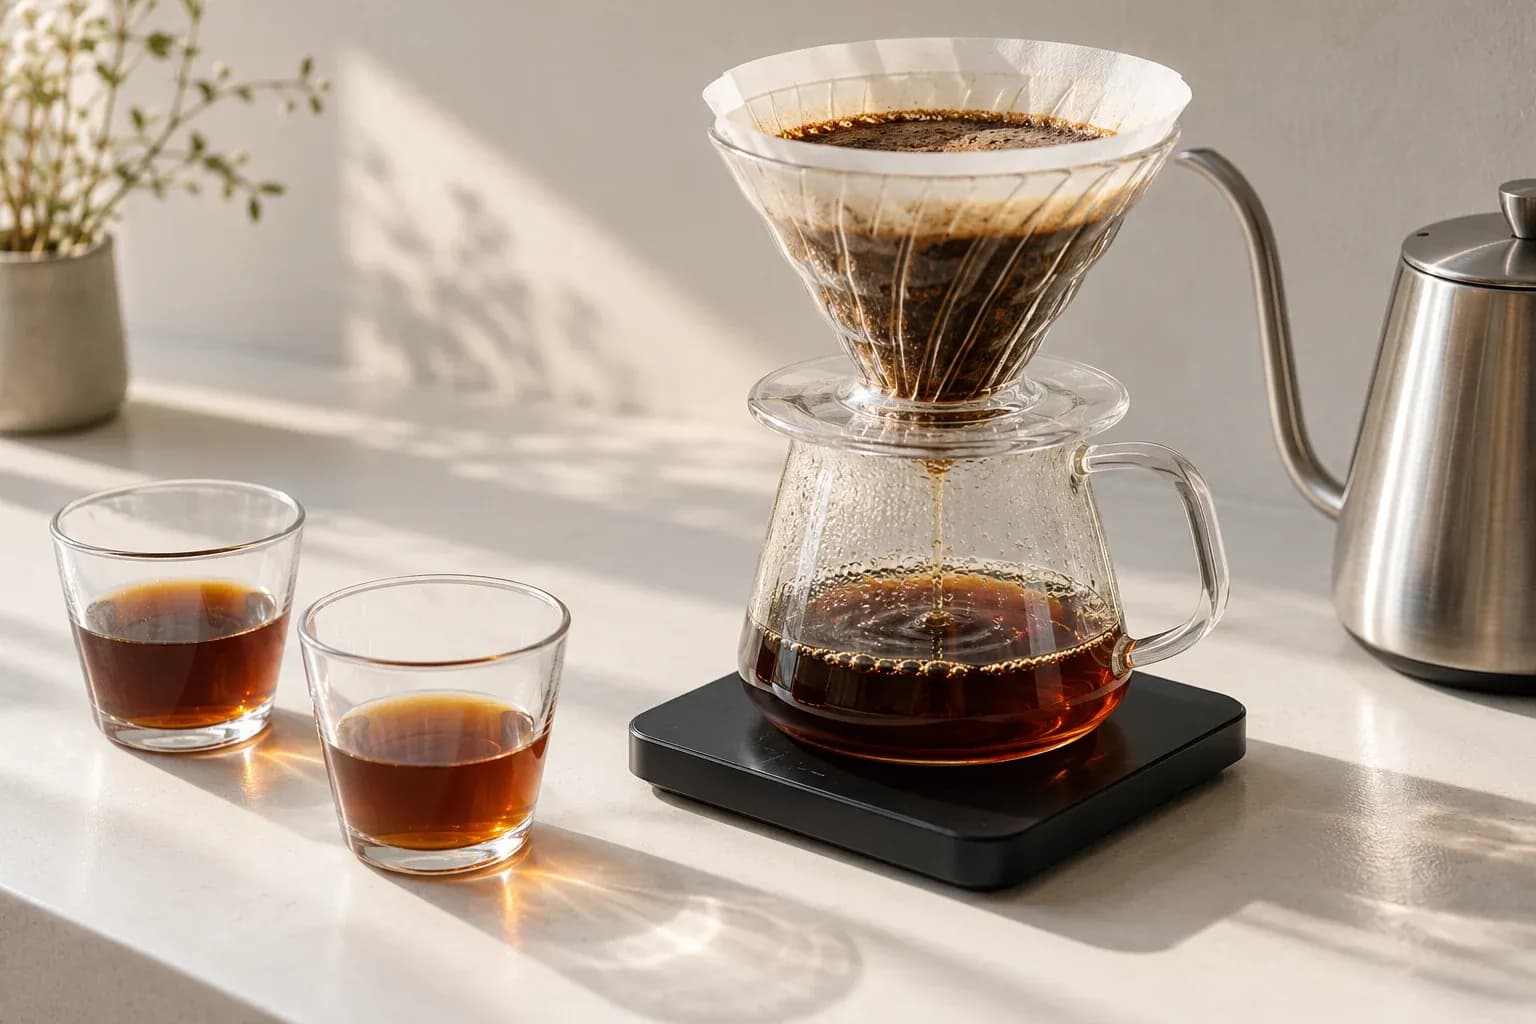
For filter coffee, 1:16 means one part dry coffee to sixteen parts brewing water, measured by mass. With a 15 g dose, multiply 15 by 16 to get 240 g of water. Count every pour, including the bloom. If you rinse the paper first, discard that rinse water and tare the scale before brewing.
The number on the kettle side of the recipe is not the final drink mass. Some liquid remains in the wet grounds and paper, and some can be lost while handling the brewer. A 240 g water input therefore does not promise a 240 g beverage. Record beverage mass separately when serving size matters.
Espresso uses a different convention in everyday recipes. An 18 g dose producing 36 g in the cup is commonly called 1:2. That second number describes the beverage, not all the water delivered by the machine. Mixing these conventions makes comparisons meaningless.
Separate a concentrated cup from an extracted one
Strength describes the proportion of dissolved coffee in the drink. Extraction describes how much soluble material has left the dry grounds. Imagine dissolving the same spoonful of sugar in a small glass and a large glass. The amount of sugar is unchanged, but its concentration is different.
Coffee is more complicated because changing brewing water also changes the extraction process. More water can move through the bed for longer and carry away additional solubles. A longer ratio therefore does more than dilute the finished drink, and its effect depends on grind, flow and the way you pour.
That is why “strong” and “bitter” should not be used interchangeably. Strength is concentration; bitterness is a taste. A concentrated cup can be pleasant. A thin cup can still taste bitter or drying. Describe these experiences separately before adjusting anything.
Use a dilution test before changing the brew
If a cup seems too intense, split some of it between two similar cups. Leave one portion unchanged. Add a small, measured amount of hot water to the other, then compare them at similar temperatures. Stir both portions before tasting so the comparison is not affected by uneven mixing.
If dilution makes the cup easier to enjoy while preserving its sweetness and finish, concentration is a useful place to investigate. If the diluted portion still feels rough or hollow, changing strength alone has not solved the problem. The test narrows your next decision; it does not measure extraction.
Use modest additions and record them. As an arithmetic example, adding 10 g of water to a 100 g portion increases its mass to 110 g. Ignoring evaporation, the concentration becomes 100/110, or about 91%, of what it was. That is a relative reduction of about 9%, not a nine-percentage-point change in TDS.
Build three recipes from one dose
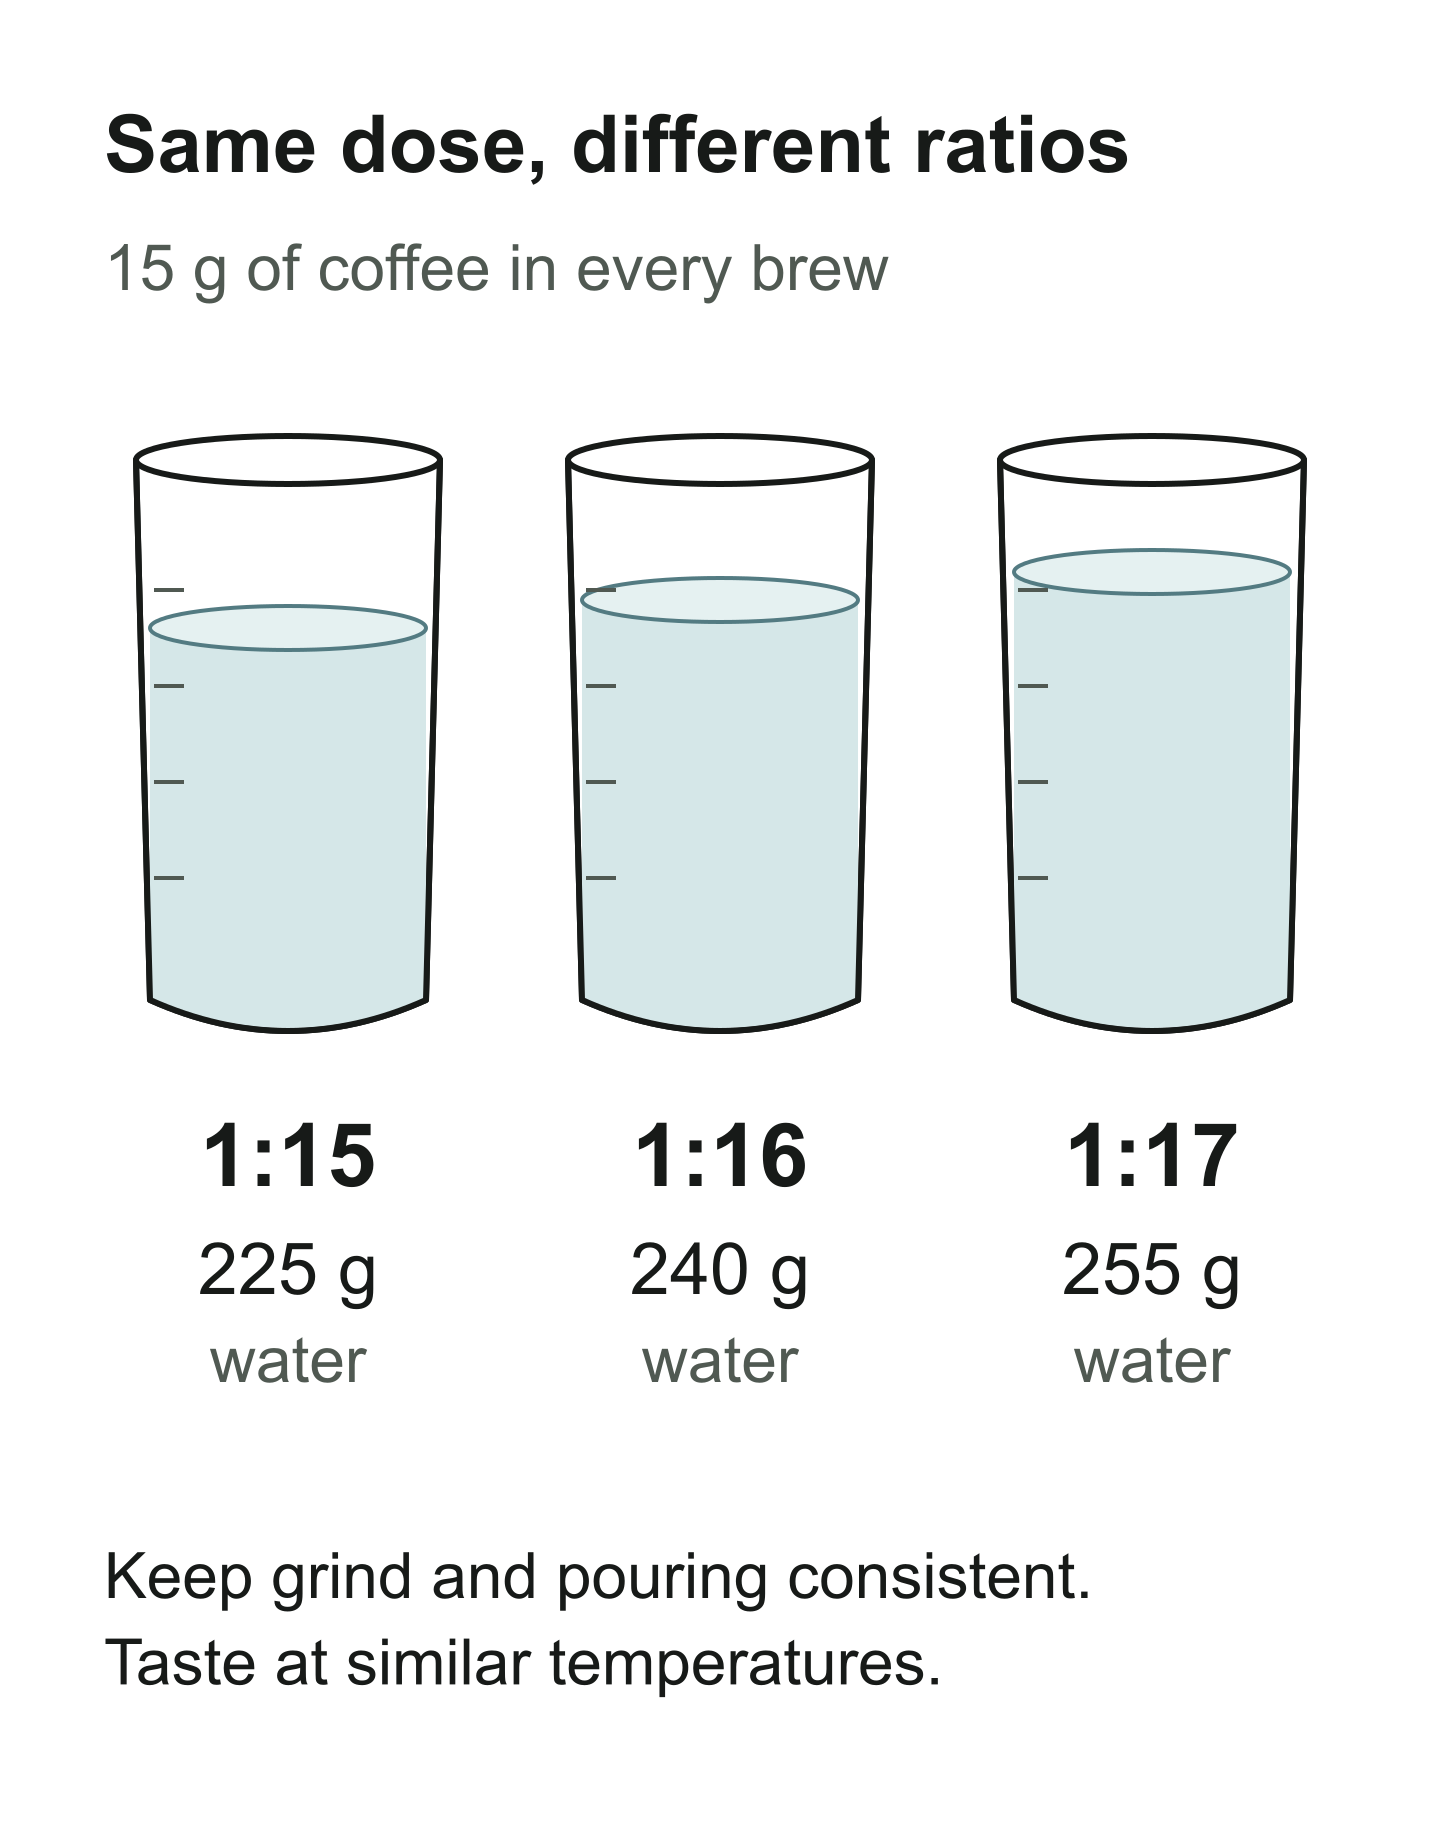
For a controlled starting comparison, use the same 15 g coffee dose with these total water amounts.
- 225 g of water gives 1:15.
- 240 g of water gives 1:16.
- 255 g of water gives 1:17.
These are recipe examples, not tested rankings. Use the same coffee, water, paper, grinder setting and starting temperature. Keep the pouring style similar, while allowing the last pour to reach each target. Record total brew time rather than forcing all three recipes to finish together.
Taste in a changing order if you can. Write something specific, such as “pleasant sweetness, heavy finish” or “lighter texture, clearer fruit”, rather than scoring every cup simply as good or bad. Choose a promising direction, then repeat it on another day before making it your default.
Match the next adjustment to the symptom
A cup that is balanced but too intense is a good candidate for a little dilution or a longer brewing ratio. If it is already pleasant but too light, try a shorter ratio. Neither situation requires an automatic grind change.
A cup that is both thin and sharply sour asks a different question. Check that the grounds were wetted evenly, that the water and brewer were prepared consistently, and that the brew did not run unusually fast. A small move finer may be worth testing, but a sour note alone is not proof of under-extraction; some coffees are naturally bright.
If the cup is drying and the filter drains much more slowly than usual, inspect the paper seating, accumulated fines and how vigorously you poured or swirled. Try a gentler agitation pattern or a small grind adjustment separately. Adding more coffee to hide an unpleasant finish can make diagnosis harder.
Scale a recipe without assuming the same flow
Moving from 15 g and 240 g to 30 g and 480 g preserves 1:16. It does not preserve the depth of the coffee bed in the same dripper. A deeper bed and a different pouring schedule can change drainage, so treat the doubled recipe as a new dial-in rather than a guaranteed larger copy.
For a larger serving, stay within the brewer’s working capacity, leave room for the slurry and keep a record of the final drink mass. If the larger brew tastes different, change one brewing variable at a time before abandoning the ratio you liked.
Use measurements to answer a question
A scale tells you mass and a timer tells you duration. Neither measures the concentration of dissolved coffee. A coffee refractometer can estimate TDS when used with the maker’s sampling and calibration procedure. Those numbers are useful if you need them, but they do not replace tasting.
For daily brewing, a compact log is enough: dose, total water, grind, brew time and one sentence about the finish. Keep the recipe that gives you the cup you want. If your next difficulty is slow drainage or a muddy texture, the guide to controlling immersion brewing explains why changing the brewing method changes the way you should interpret time and filtration.