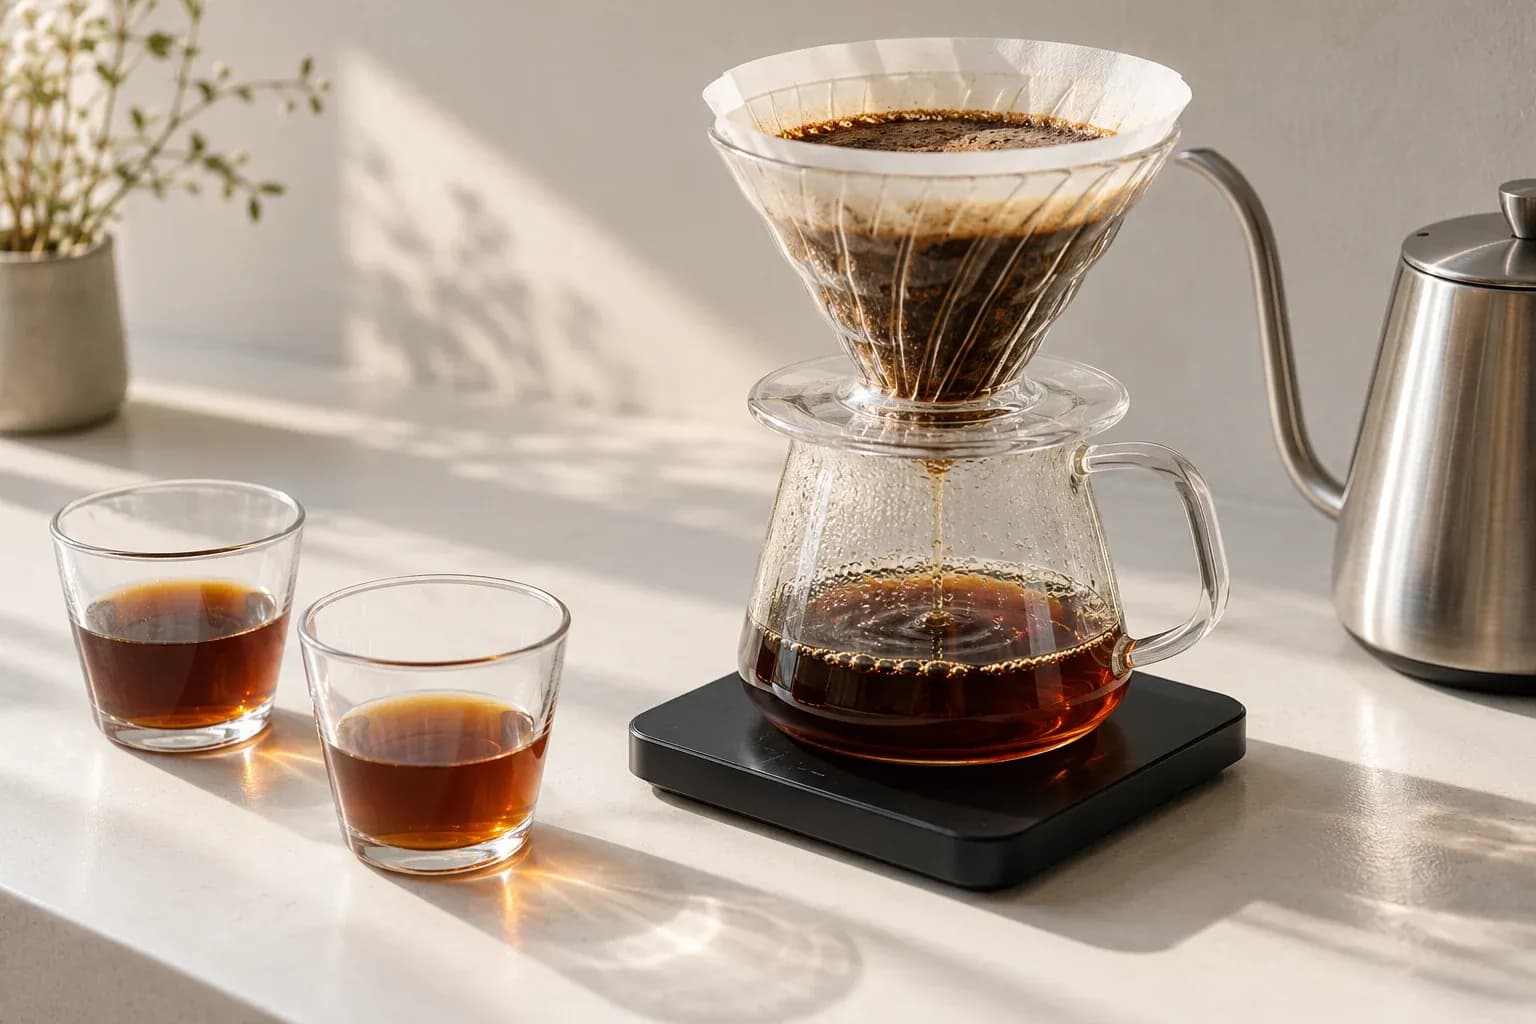
The timer reaches four minutes, but your coffee is not ready to drink. The grounds are still in contact with water, the filter has yet to drain, and some brewers keep liquid sitting above the bed until you open a valve. A steep time alone cannot describe the whole brew.
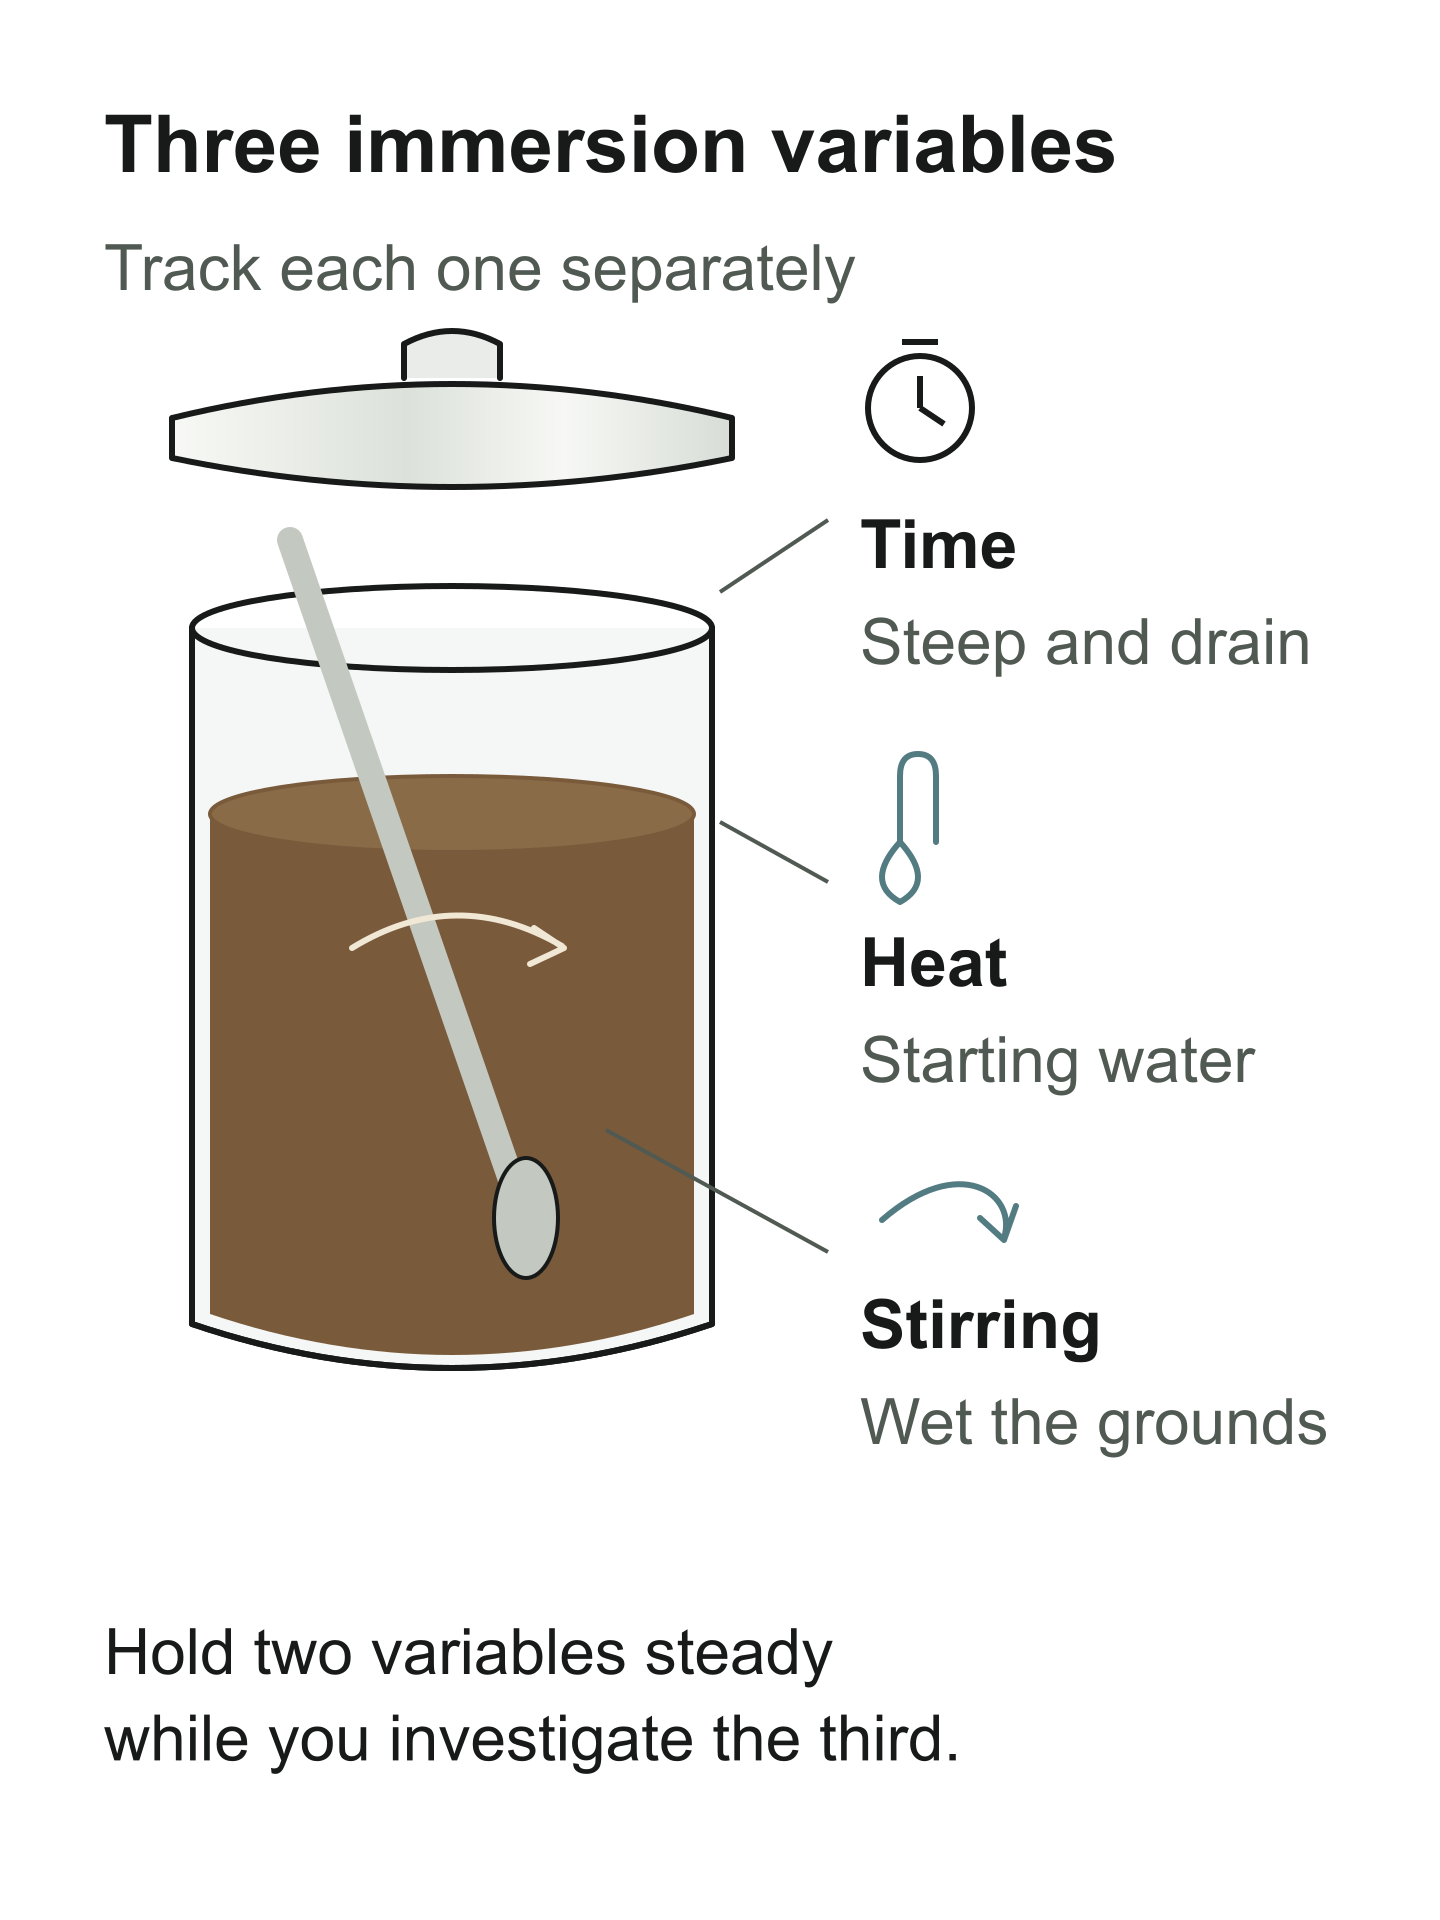
Immersion becomes easier to control when you separate three stages. First, wet the grounds. Then let coffee and water remain together. Finally, separate the liquid from the solids. Different brewers handle that last stage very differently, which is why the same steeping instructions do not always produce the same cup.
Steeping changes the conditions around the particles
When fresh water meets coffee, soluble material moves into the surrounding liquid. During immersion, that liquid becomes progressively more concentrated. The difference between the grounds and their surroundings changes as the brew develops, so extraction does not continue at a constant rate indefinitely.
Grinding finer exposes more surface and shortens paths within particles, but it also affects handling and filtration. Adding more time can change a brew, yet doubling the time does not mean doubling extraction or strength. An immersion model can describe an approach towards equilibrium under specified conditions; it does not tell you that every coffee will taste best at the same endpoint.
Temperature, grind, ratio and mixing still matter. A long steep is not a reliable substitute for fully wetting the grounds at the start, and water that has cooled substantially follows a different temperature history from a covered, well-insulated brew.
Count the water correctly before starting
For an illustrative small paper-filtered immersion brew, use 15 g of coffee with 240 g of brewing water, a 1:16 ratio. This is a trial recipe to adjust for your coffee and brewer, not a universal target. Check the brewer's capacity and its instructions before choosing the batch size.
Rinse the paper if the brewer calls for it, then discard that water and tare the scale. Rinse water trapped below a closed valve can otherwise become an unrecorded part of the brew. Use a clean vessel, the intended filter and a grind you can reproduce.
Choose one practical water-temperature setting and record it. There is little value in assigning an exact number that your kettle cannot deliver consistently. Keep the setting stable for the first comparison, and use the brewer manufacturer's guidance for safe filling and handling.
A first trial that exposes useful information
Add the grounds and start timing when brewing water first touches them. Pour the planned 240 g and use one gentle stir to break up dry pockets. Note when pouring finishes. Cover the brewer if it is designed to be covered, then leave it undisturbed until a chosen release time, such as four minutes from first contact.
Open the valve or begin the specified separation step, and let the coffee drain. Record both the release time and the time filtration finishes. A four-minute steep followed by two minutes of draining is not the same process as a four-minute steep followed by thirty seconds of draining. Coffee continues interacting with liquid during separation.
Swirl the collected drink gently before serving, let it cool enough to taste, and describe one useful feature. “Sweet but too heavy” is more actionable than “not right.” If you can, weigh the finished beverage as well as the input water. Grounds retain liquid, so the two masses will differ.
The filter is part of the recipe
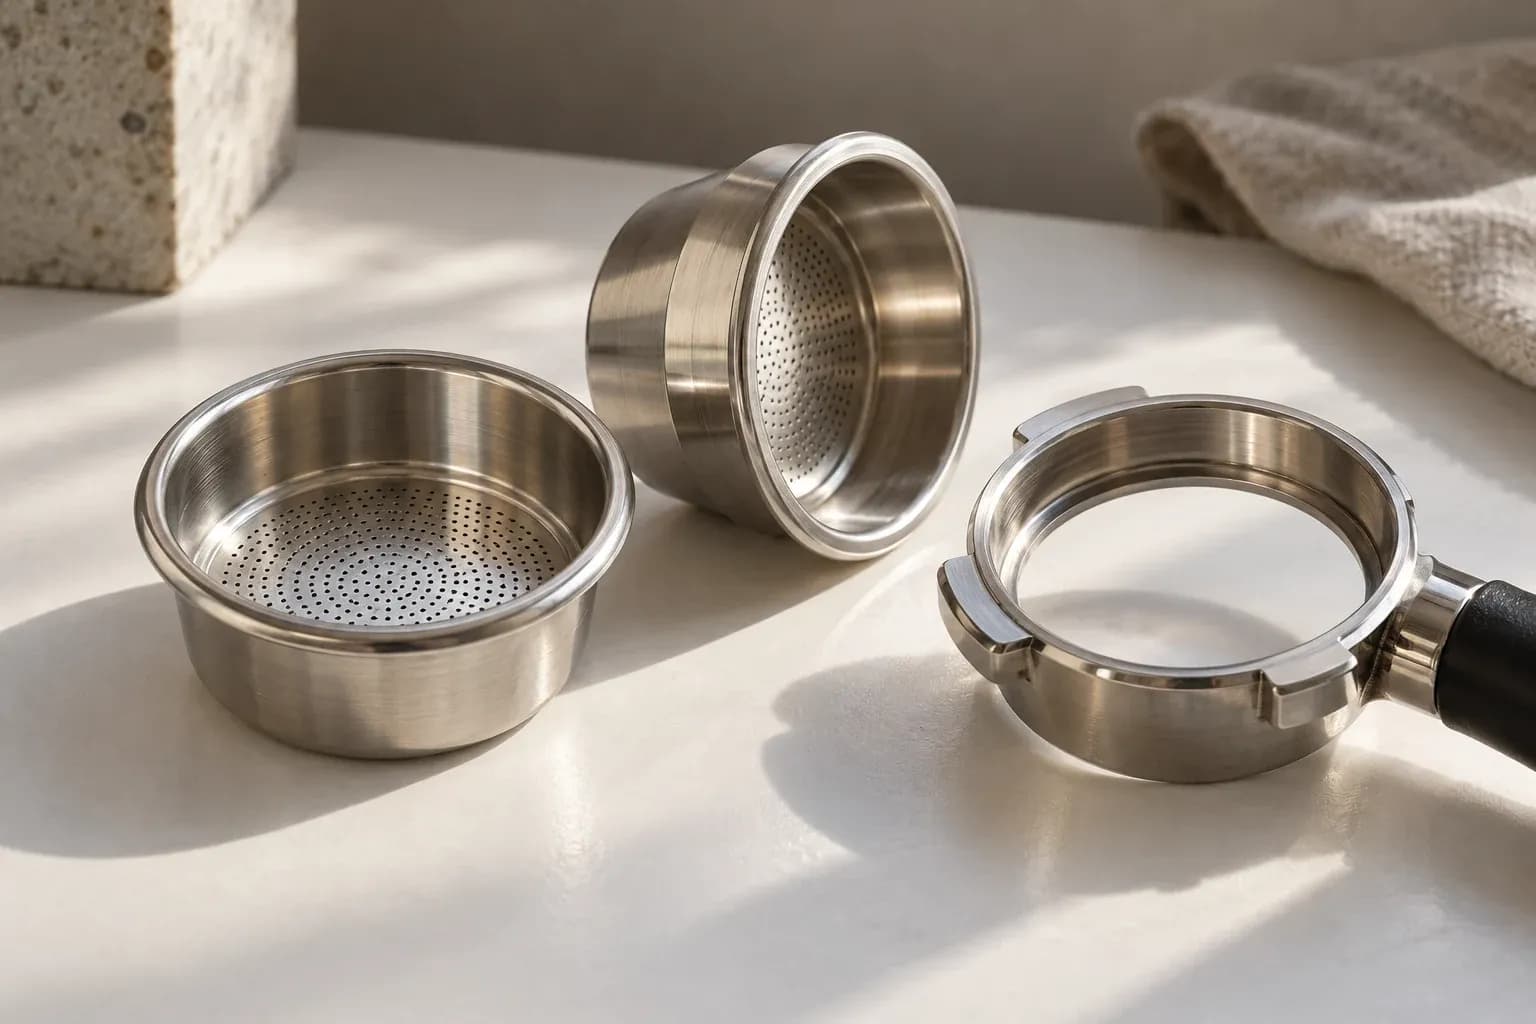
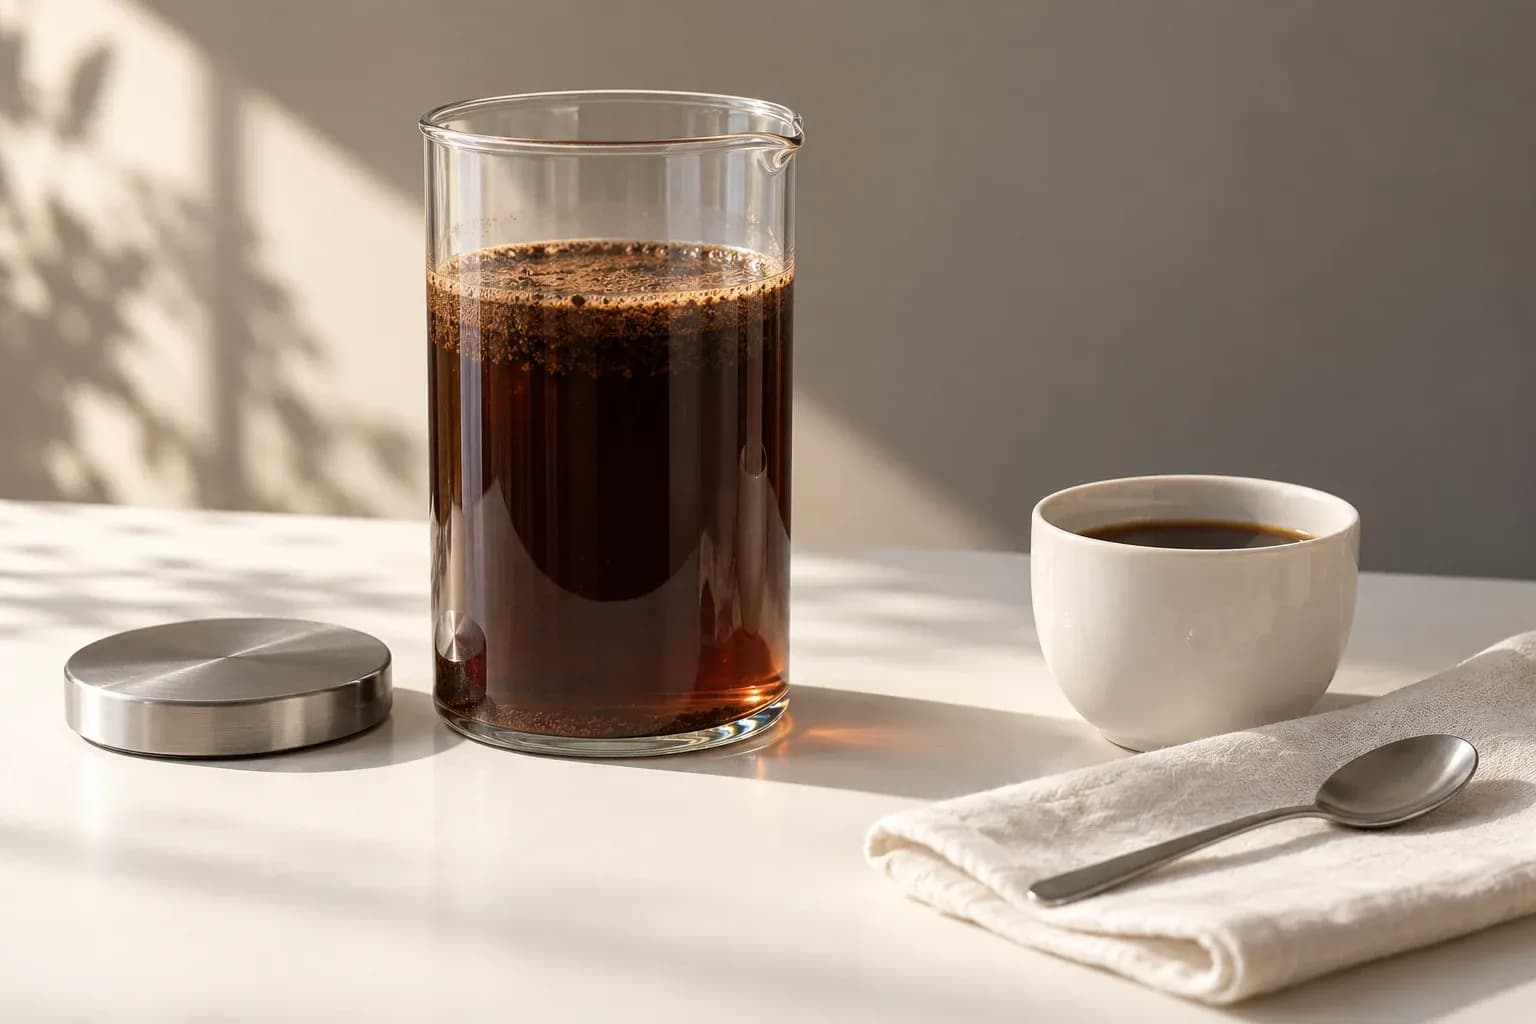
A metal-filtered press allows more suspended material into the cup than a paper filter. Paper filtration changes mouthfeel and removes much of that suspended material; it does not simply turn the same drink into a clearer photograph. Comparing a press with a paper-filtered steep therefore changes separation as well as the brewer.
In a release-valve brewer, the final drain also involves water moving through a bed. A very fine grind, an obstructed paper or vigorous movement that redistributes fine particles can change that stage. Keep the filter placement and release procedure consistent before interpreting a longer drain as better extraction.
If you press a plunger, follow the device's instructions rather than forcing an unusually resistant bed. Handling resistance is information about the setup, not an invitation to add pressure without limit.
Choose the next change from the cup and the process
If you find dry clumps after brewing or see floating pockets that never wetted properly, correct initial wetting first. Increasing the steep time will not reliably compensate for uneven contact.
If the cup is clean but lacks concentration, check dose, total brewing water and any water accidentally left from rinsing. A ratio adjustment may be more useful than stirring harder. The guide to brew ratios explains a dilution test that helps separate excessive strength from unpleasant flavour.
If the cup feels gritty, look at the separation method. A longer steep will not remove particles admitted by a metal filter. If a paper-filtered brew drains slowly and tastes drying, inspect paper seating and try less agitation before changing several settings. A coarser grind is another test, but make it separately so that you know what helped.
Keep the recipe honest when you compare brewers
Record the coffee, dose, water, grind, temperature setting, first-contact time, release time, filtration finish and filter type. That sounds like a long list, but one line per brew is enough once the routine is established.
Compare two cups at a similar drinking temperature and with the same serving size. Decide what you value before making a change. A clearer cup, more body, a simpler routine and a shorter preparation time are different goals. A method can be useful because it fits your morning even when it is not the fastest to drain.